
Starlink first impressions in the UK
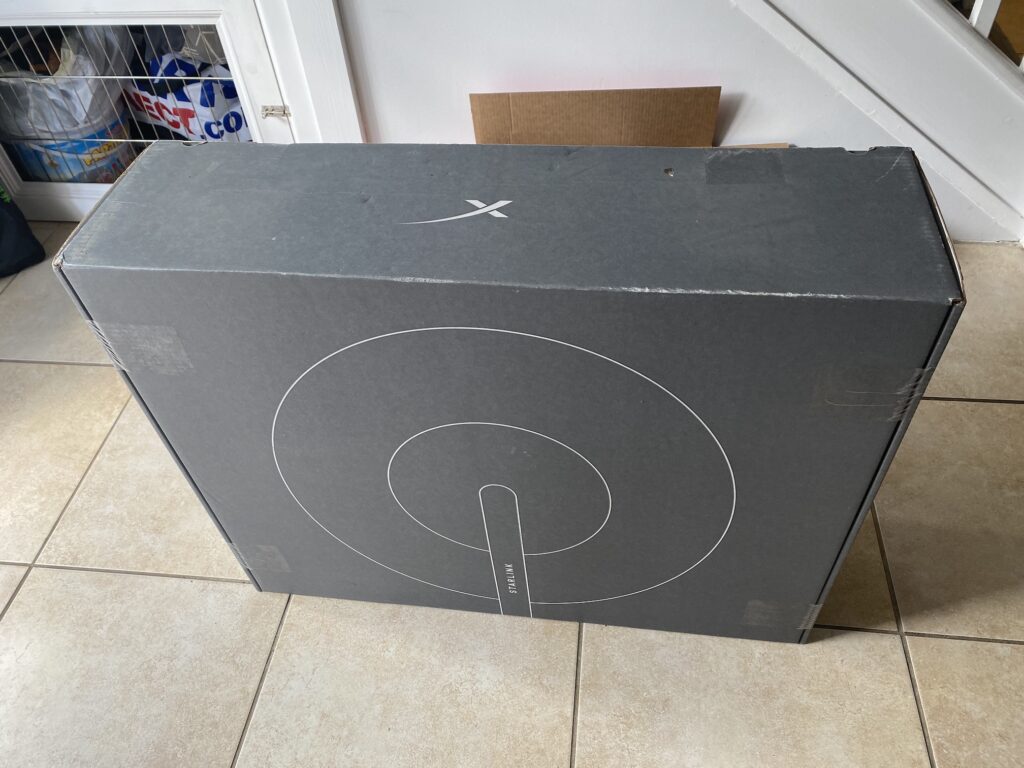
Posted on April 11, 2021 by TheStorageChap in TechObsessedDadA couple of weeks ago I took the plunge and ordered the Starlink Beta service. In fact, I ordered it twice! The first time I ordered they asked for my address and an £89 deposit, telling me that Starlink would be available in my area soon. Now I knew that I was in an area where Starlink coverage was already available and in the evening used my Google Plus Code to try and order instead. When I used the Plus Code I was told it was available and that they would take the £493 immediately, so I went ahead. 9 days later my Starlink kit arrived from the US via DHL.
Before I get into that, I am sure there are a lot of people out there thinking why would you pay £493 and then circa £90/month for broadband. I live in the countryside and my nearest BT cabinet is between 2-3KM away. This has meant that for the past seven years the best broadband connection I was able to get was 13-14Mbps downstream and 0.75-1Mbps upstream. Now I live in a house with a wife who enjoys catch up TV, two boys who spend some a lot of their time online gaming and I work from home for a large majority of my time (especially over the past 18 months!)
The previous solution was to pay for a second phone line and broadband connection and then use Sharedband to bond these two connections together into a single connection that averaged 25-30Mbps downstream and 1.5Mbps upstream; which I have been doing since I moved into the house. £48 for Sharedband (capped at 2.5TB), £25-£30 for each phone line and broadband connection and you can see I am already spending £100 for my internet connectivity.
Last year I looked at the cost of getting fibre to the premises and was quoted £38,000 for installation! So in the grand scheme of things, the £500 outlay for the Starlink + £90 a month is entirely reasonable, at least in my mind. Assuming I could get a decent and stable internet connection.
Starlink ordered the next thing to do was think about where to mount the dish. Not only do I live in the countryside, but I also live in a valley surrounded by tall trees so reception was a concern. Fortunately, the Starlink App enables you to actually check for obstructions before you install your “Dishy”. I found the best spot was going to be on top of my house so needed to think about what I needed to complete the install. Whilst there are some mounting options available from Starlink (in addition to the included tripod) reviews were not favourable, they were not designed for UK roofs and they were not available for 4 weeks from Starlink anyway. Fortunately, I came across this post from Arialsandtv.com in the UK and bought the following from them.
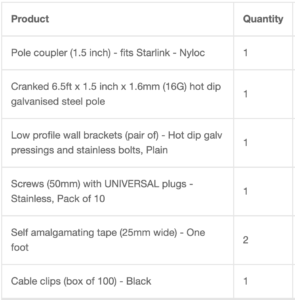
I ordered at 9 am on Wednesday and it all arrived at 10:30 am the following day. Great service. The Starlink which was supposed to arrive the following day also arrived so on Thursday afternoon I had the Starlink and everything I needed to install it.
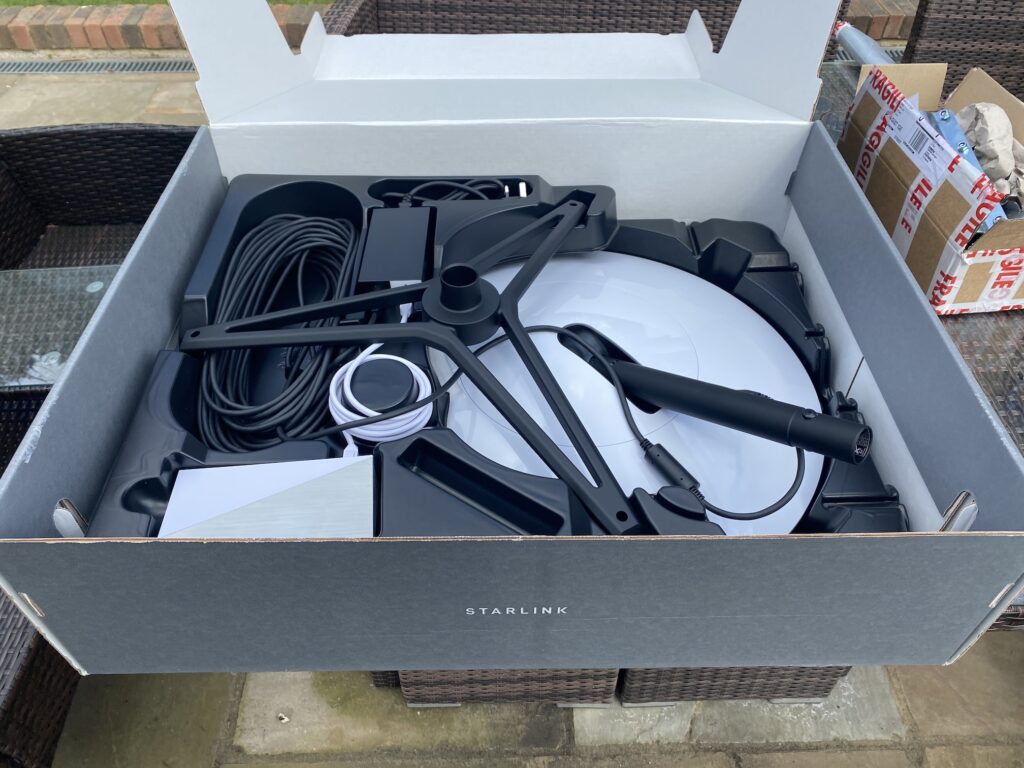
Within probably 45 mins of receiving Starlink, I had the dish in the garden and the wire poked through a window and attached to the Starlink router in the lounge.
I switched everything on, went to the App, changed the SSID and password and within a few minutes everything was connected. I then did what every self-respecting man would do and went straight to Speedtest.net to see what kind of speed I was getting.

Okay, first signs are encouraging. I am especially impressed by the 32ms latency. This is satellite internet and previously this would have meant latencies in the 100s of ms. The smaller the latency the better, as this reduces any delays when you are requesting webpages and is especially important for things like video conferencing and online gaming. What I don’t want to hear ever again is “Dad, I am lagging!”.
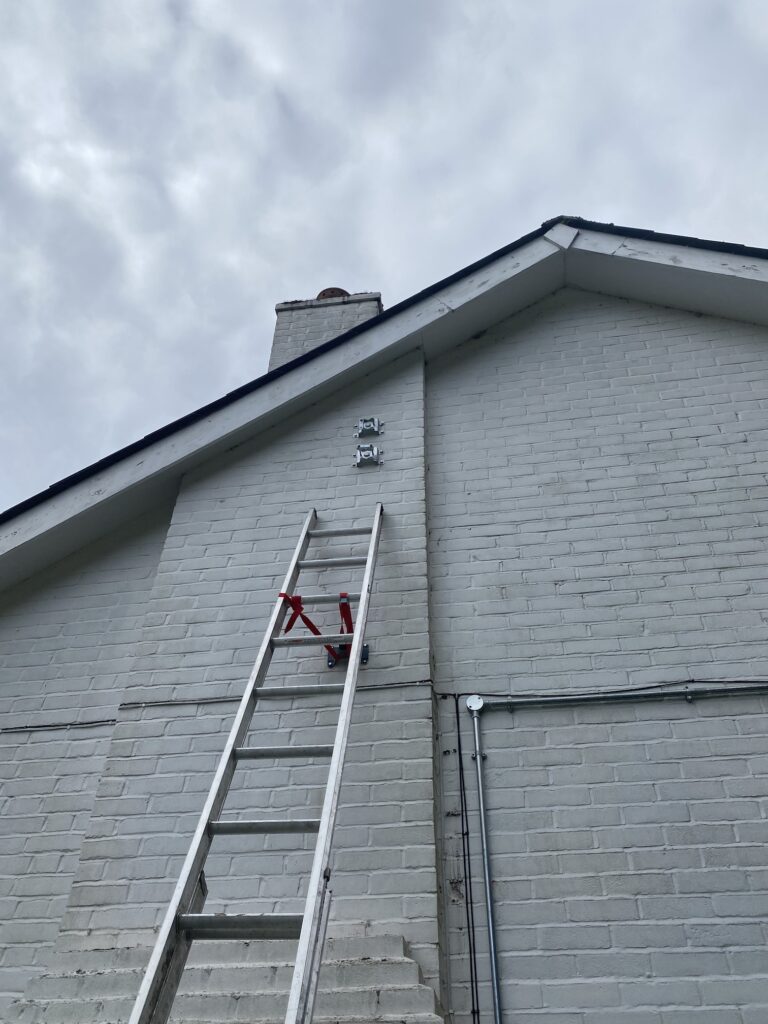
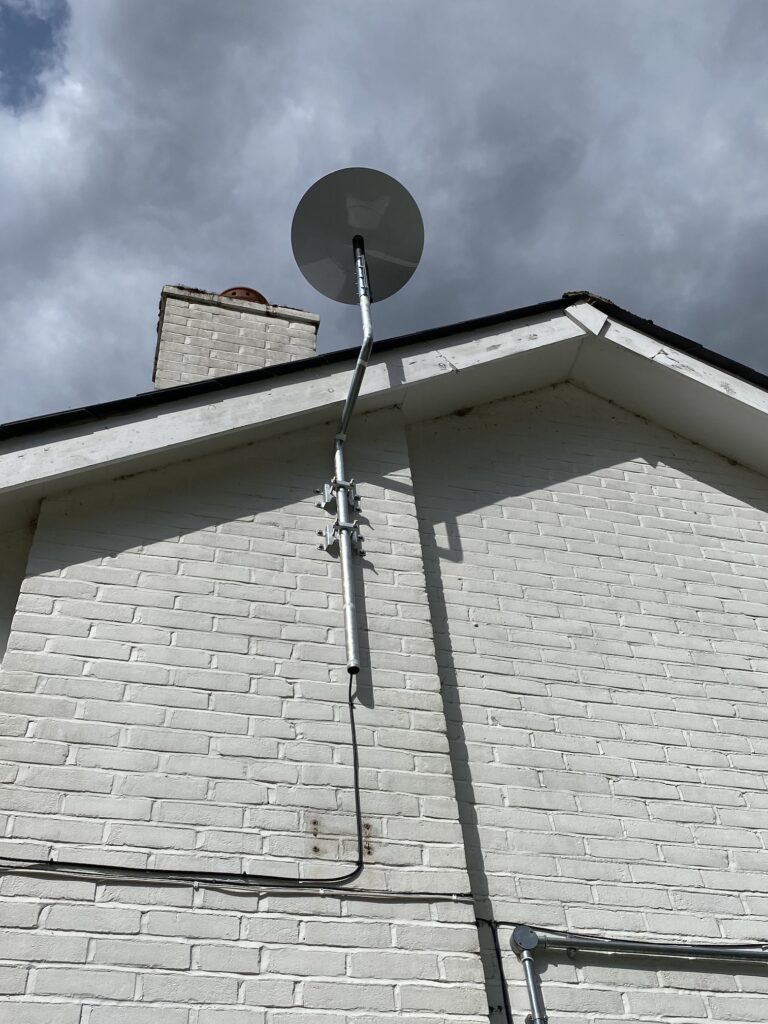
So I decided on Thursday afternoon to mount “Dishy” on the roof with the kit supplied from A.T.V. I firstly mounted the brackets on the side of the house and offered up the pole to make sure everything was going to be okay. Which it was.
I then mounted “Dishy” to the long end of the pole using the pole coupler and this was the point that I ran into a problem.
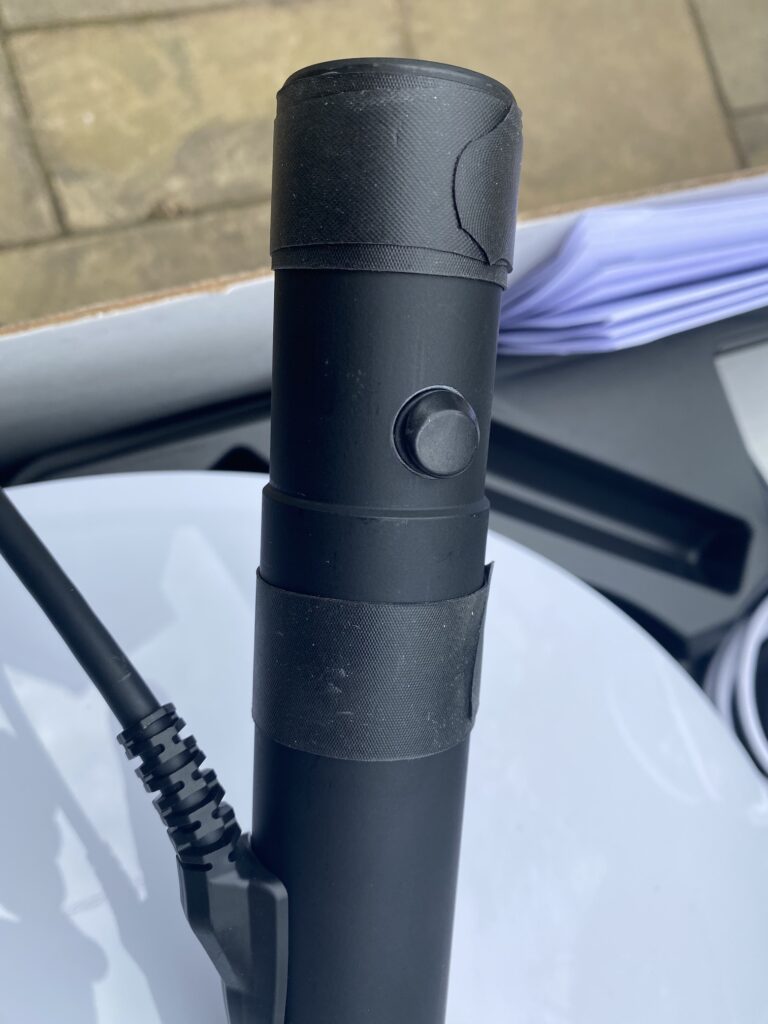
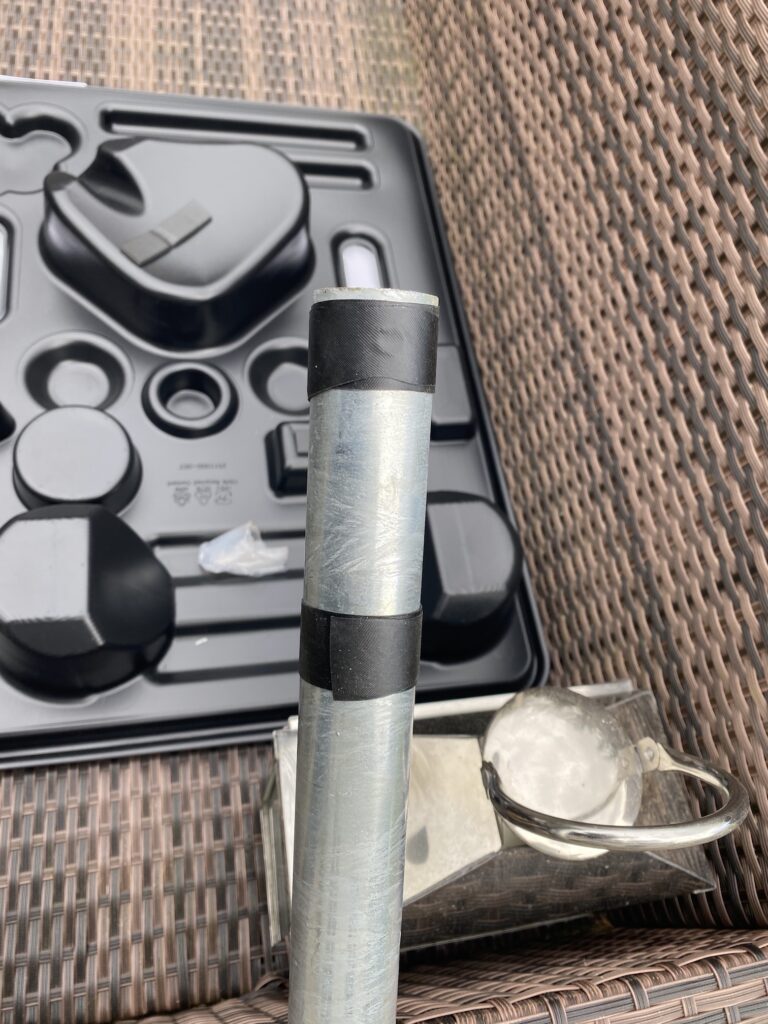
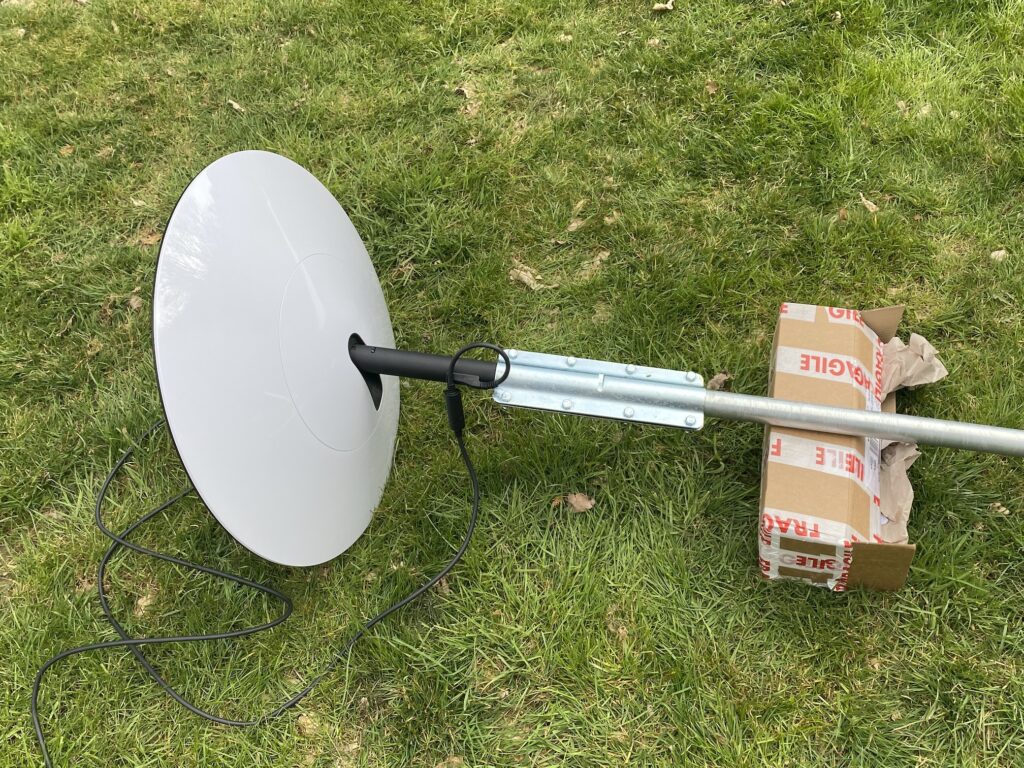
“Dishy” is quite heavy and when mounted on the top of the 4ft length of pole there was no way I was going to be able to climb up a ladder and secure this top-heavy pole in the brackets. The only way to safely do this with one person was to attach the pole to the house and then climb the roof and place “Dishy” on top of the pole. That would require a roof ladder, which I didn’t have.
At that point, I took “Dishy” off the pole, put it back in the tripod and decided to let the boys try it for gaming in the evening. The results were surprisingly good, both boys played with no lag issues, except for a very short, a few seconds, ‘beta outage’. The acid test was when one was watching Disney+ and the other was playing Apex Legends, something that often resulted in battles in the playroom due to frequent ‘lag’ and ‘getting kicked from the server”; again in this case no problems at all.
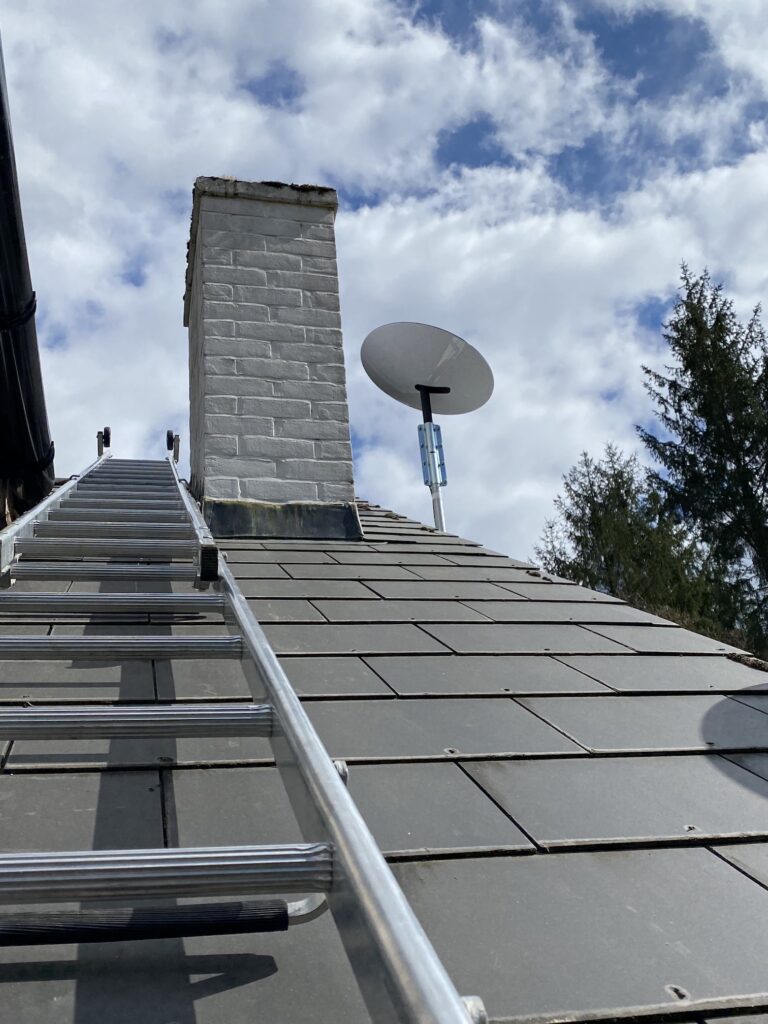
After a quick trip to Jewsons to hire a roof ladder for the day, I went back to installing “Dishy” on the roof on Friday morning. This was when I ran into the second issue. With the cranked pole installed the right way round (the longer end at the top) and “Dishy” on top, there was quite a lot of wobble due to the weight of “Dishy”. I decided to swap the pole around so that the shorter length was at the top and bolted everything back together. There was significantly less play in the pole and fortunately “Dishy” was still not obscured by the chimney.
I clipped the cable to the wall and took it around the house to where I wanted to bring it inside. For reference, you will need a 20mm hole to feed the cable through as there is a connector of sorts after the RJ45 connector which is 19mm in diameter.
I connected the cable back into the modem/POE injector and powered up the Starlink router and everything kicked back into action. Installation job done.
Starlink and Unifi USG
The wireless router that comes with Starlink, whilst adequate does not have the ability to modify even the IP address at this time. I also found the wireless signal strength was not great.
I already had an extensive Unifi based wireless network in my house, including a UniFi USG Enterprise Security Gateway and the next thing I wanted to do was swap out the Sharedband connection as the WAN connectivity and replace it with Starlink.
What is not clear until you start Googling, is that the POE injector/black brick is effectively also the “cable modem” equivalent of the Starlink setup and if you have a seperate router setup you can probably disregard the supplied wireless router and instead plug your own routers’ WAN port into the POE Injector/Starlink Modem black brick.
I watched this great video from Crosstalk Solutions https://www.youtube.com/watch?v=pTrD7JYsksY on how to set up Starlink with Unifi. In the video, they set up Starlink as the secondary WAN connection but the process is really no different when setting up as the primary.
In my new setup, I wanted to have Starlink as the primary WAN connection and then keep one of my “legacy”🙂 DSL connections as the backup in case the Starlink “beta’ service was down. The first issue I had was enabling the second WAN port on Unifi. You need to be in Classic mode in the Unifi management GUI to see the required WAN settings.
Edits made, my network connections look like this.
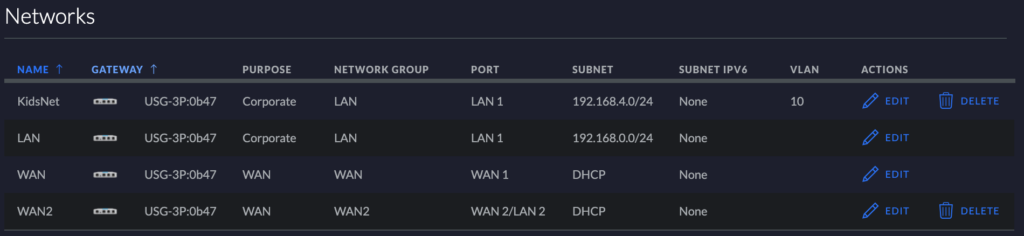
KidsNet is a separate WIFI network with time limitations for the kids and their devices which they really appreciate!
I literally then attached the TalkTalk broadband router to the WAN2 port and the Starlink brick to the WAN port and voila, everything worked. If I pull the plug on Starlink everything fails over to WAN2.
Access to Starlink statistics screen
Then the next thing I needed to sort out was access to the Starlink statistics screen which is hosted on the brick at 192.168.100.1 or accessible from the Starlink App on your phone. I looked at and tried several solutions, but the one that worked for me was in this thread https://www.reddit.com/r/Starlink/comments/ldqi86/edgerouter_and_starlink_stats_page_could_not/ and consists of adding the following to the USG config.
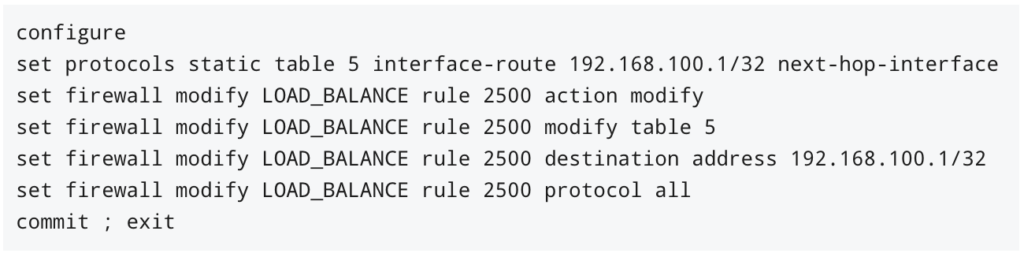
Once done I could access the Starlink stats from both the app or via the webpage.
That was all on Friday and today is Sunday and so far the connection has been pretty much flawless. Speed tests have fluctuated between 120Mbps and 250Mbps downstream and 10Mbps – 25Mbps upstream. As I write this I just got the following result from Speedtest.net
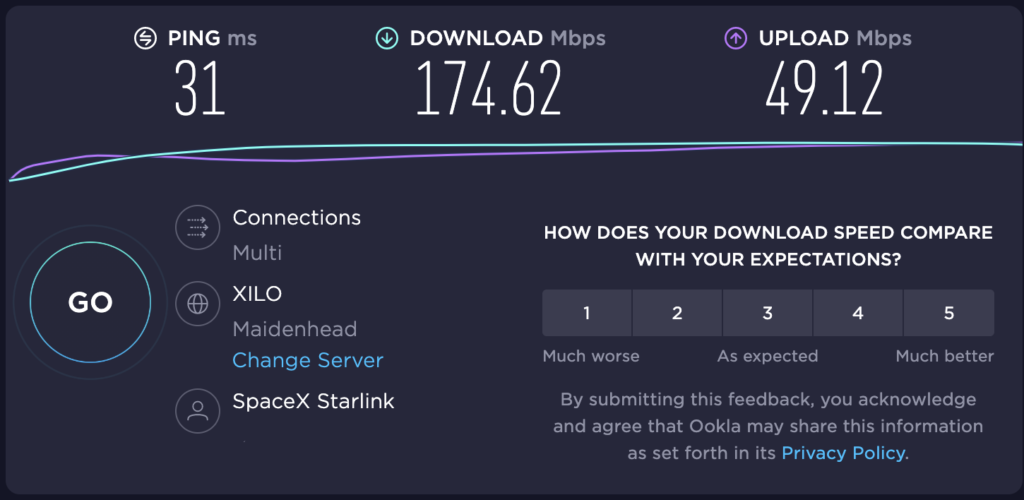
In the last 24 hours, my signal was obstructed for 1 sec, there were no satellites for 10 seconds and I had 60 seconds of ‘beta downtime’, none of which I noticed.
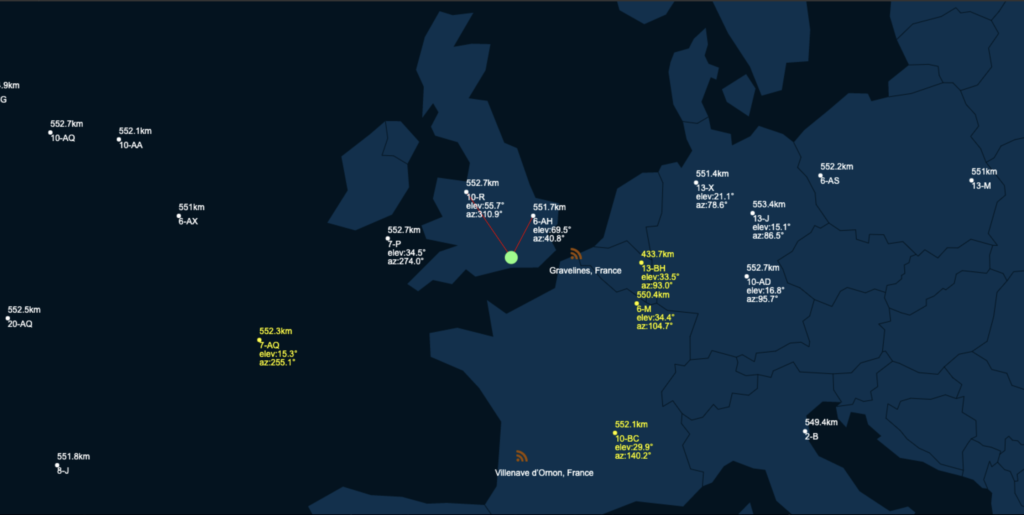
Speeds should only get faster as more Starlink satellites are launched, but even if they didn’t I would happily pay the £90 month for what I am getting right now. Besides all of that, I also get to spend hours watching satellites pass overhead…
So in summary, so far so good. I read after I had ordered Starlink that the UK is already in discussions with Starlink to help plug the gaps in broadband infrastructure and if my experience over the last few days is anything to go by, then I suspect this will be a welcome option for internet connectivity for those who like me live too far away from a fibre cabinet or 4G/5G cell tower to get a reasonable connection anytime soon.
Discussion · No Comments
There are no responses to "Starlink first impressions in the UK".No one has posted a comment on this post yet. Start the discussion!
Leave a Comment